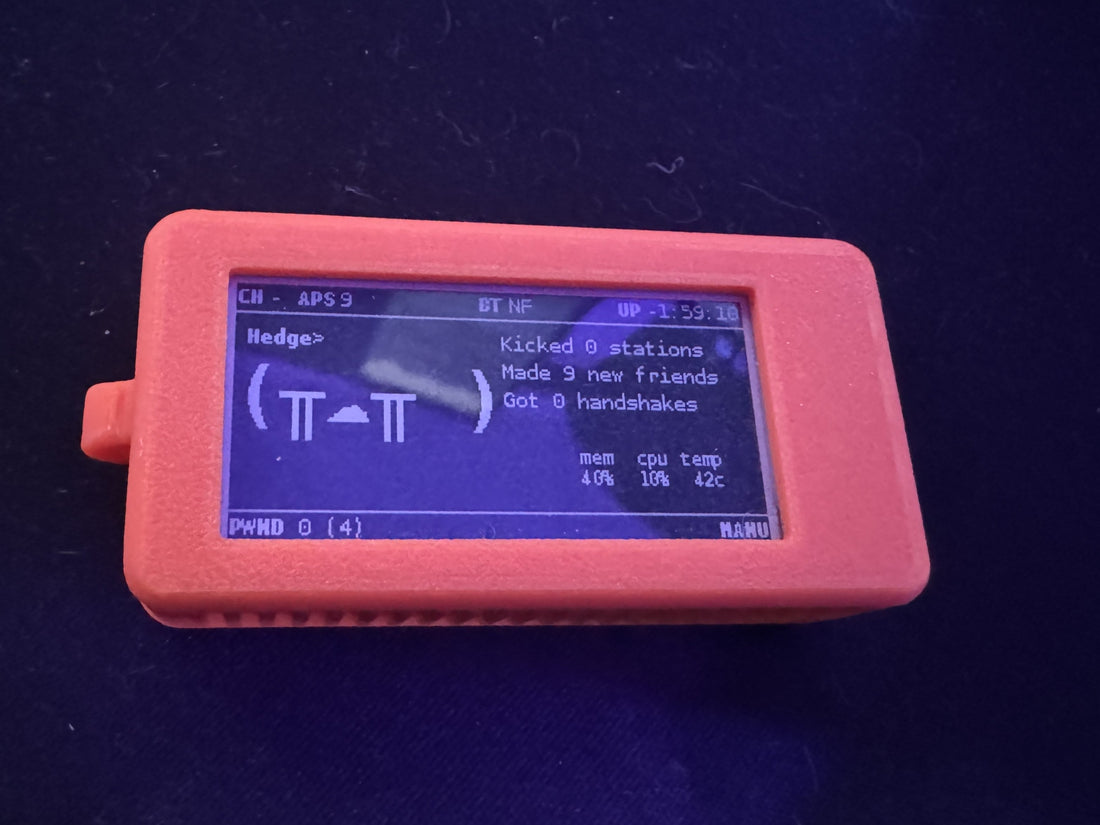
How To Build A Pwnagotchi - Easy
Share
How To Build A Pwnagotchi
This will be a quick, no-nonsense guide on how to quickly build a Pwnagotchi. So let's get started.
BOM (Bill of Materials):
1x Raspberry Pi Zero 2 W and Solderless Headers
1x Waveshare 2.13 Inch E-ink Display V3 or V4
1x 8GB or more MICRO SD card
1x 3D Printed Case We sell these :)
You'll Need:
A computer
A micro SD card reader
A hammer if using the Solderless headers
Instructions:
Install the solderless headers by attaching the Pi to the jig. Set the headers into the GPIO pin holes and place the bar on top. Hammer the headers until they are fully seated.
After installing the headers, plug the display into the Raspberry Pi and place it into your 3D printed case. Sometimes I have better luck placing the screen in first, then connecting the Raspberry Pi afterward. Close up the case.
Next comes programming the SD card. Insert the Micro SD card and reader into the computer and download Belena Etcher. Then you will need the image to flash onto the SD card. For this tutorial, we will be using the Jayofellony image (64bit). If you have the first-gen Raspberry Pi Zero, use the 32-bit image. Download the file and launch Belena Etcher.
- Select Flash From File
- Select your SD card as the target
- FLASH!
Once that is done you should see a new drive on your computer called bootfs. Download my template config.toml file and drag it onto the SD card.
Place the SD card into the Pwnagotchi and power it on. Do not touch it until it's done booting and finishes generating keys.
That's it!
