
How To Add Custom Faces To Pwnagotchi
Share
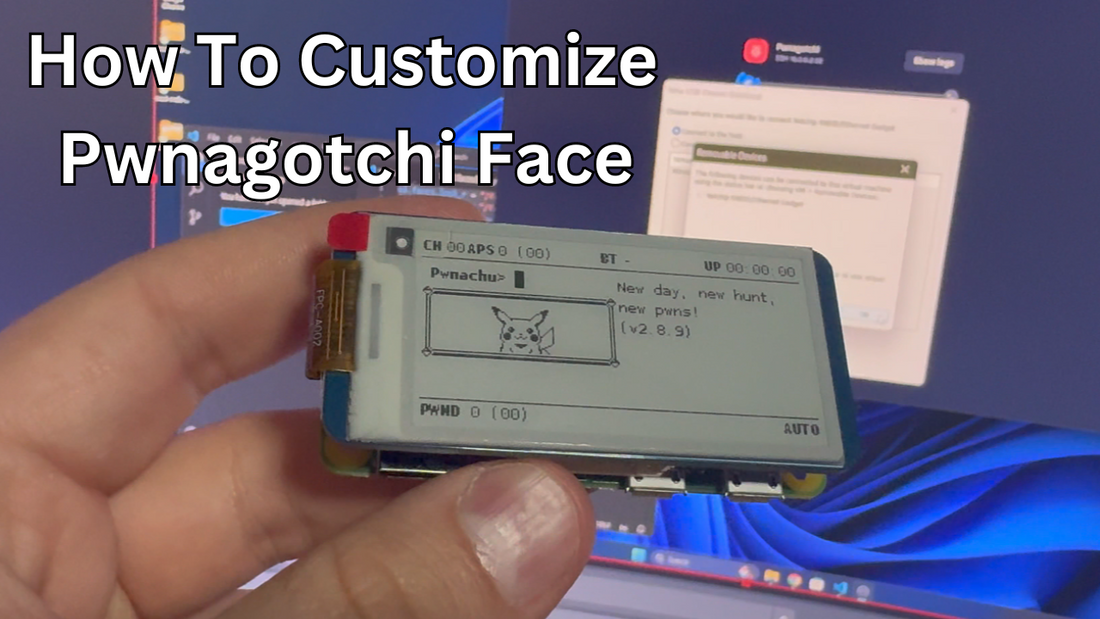
Hello Everyone,
Here are the links for the video guide on how to add custom faces to your Pwnagotchi. Here's what I use to make it happen!
- RNDIS Driver - Network driver for Pwnagotchi
- Termius - SSH Client
- Custom Faces Github Repo
Paste this into your Pwnagotchi after you connect for the first time to create the folder for the faces:
cd /
sudo mkdir faces
sudo chmod 777 faces/
sudo mkdir faces
sudo chmod 777 faces/
FTP the files from the repo into the folder you just made.
Then here are the config settings that I pasted into the /etc/pwnagotchi/config.toml:
ui.faces.look_r = "/faces/LOOK_R.png"
ui.faces.look_l = "/faces/LOOK_L.png"
ui.faces.look_r_happy = "/faces/LOOK_R_HAPPY.png"
ui.faces.look_l_happy = "/faces/LOOK_L_HAPPY.png"
ui.faces.sleep = "/faces/SLEEP.png"
ui.faces.sleep2 = "/faces/SLEEP2.png"
ui.faces.awake = "/faces/AWAKE.png"
ui.faces.bored = "/faces/BORED.png"
ui.faces.intense = "/faces/INTENSE.png"
ui.faces.cool = "/faces/COOL.png"
ui.faces.happy = "/faces/HAPPY.png"
ui.faces.excited = "/faces/EXCITED.png"
ui.faces.grateful = "/faces/GRATEFUL.png"
ui.faces.motivated = "/faces/MOTIVATED.png"
ui.faces.demotivated = "/faces/DEMOTIVATED.png"
ui.faces.smart = "/faces/SMART.png"
ui.faces.lonely = "/faces/LONELY.png"
ui.faces.sad = "/faces/SAD.png"
ui.faces.angry = "/faces/ANGRY.png"
ui.faces.friend = "/faces/FRIEND.png"
ui.faces.broken = "/faces/BROKEN.png"
ui.faces.debug = "/faces/DEBUG.png"
ui.faces.upload = "/faces/UPLOAD.png"
ui.faces.upload1 = "/faces/UPLOAD1.png"
ui.faces.upload2 = "/faces/UPLOAD2.png"
ui.faces.png = true
Remember to:
- CTRL + X
- Y
- Enter
to save the changes.